
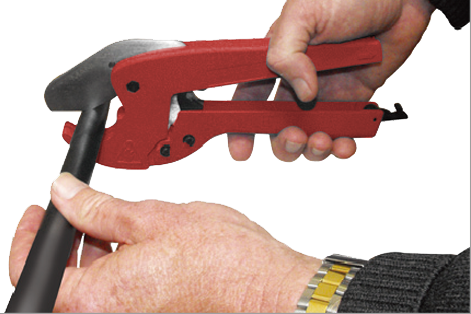
Cut the pipe clean and square using elson BUSHPEX pipe cutters, Any kinks, damage, imperfections must be cut out and disposed.
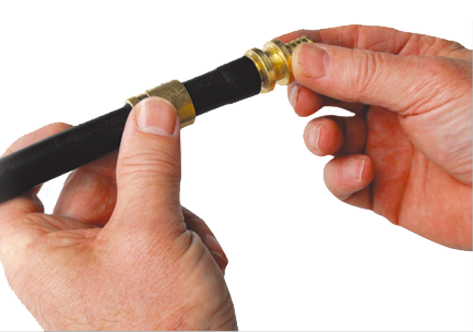
Slide the jointing sleeve over the pipe end with the internal tapered end of the sleve facing the joint. Keep the sleeve at least 50mm from the pipe end.

Inspect the expander tool and expander heads prior to use for damage or dirt build up on the heads. Do not use if damaged or missing parts. Ensure the expander head screws completely onto the expander.
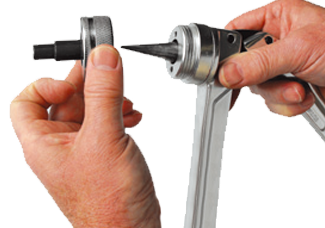
Never use incompatible heads. Insert the expander head into the pipe end and expand the pipe once, then rotate the expander tool approximately 30 degrees and expand the pipe again. This process ensures even and complete pipe expansion.
Note: Any damage to the pipe and from the use of a defective expander tool shall be discarded and cut off.
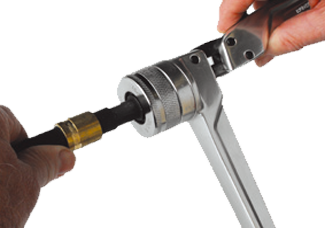
Immediately insert the expanded pipe end into the fitting until it reaches the last and largest ridge. Note the pipe contracts over time due to the PEX memory effect.
Manual Tool and Bettery Tool Installation
Slide the jointing sleeve to the fitting. Position the tool jaws squarely on and in line with the outer face of the sleeve and the fitting collar.
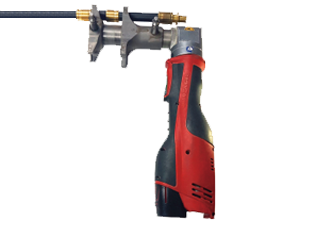
( This step is for either manual ratchet tool or for hydralic battery tool. )
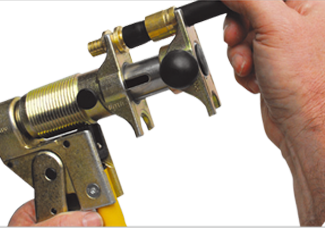
Activate the compression process with either the manual ratchet tool or the hydraulic battery tool until the sleeve reaches the fitting collar.
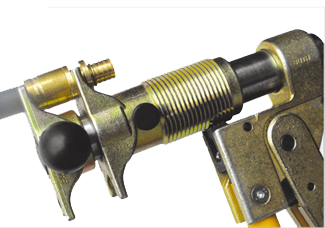
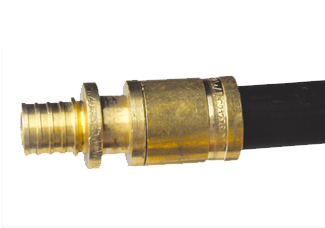
Inspect every joint to ensure the process is correct and complete. The sleeve must be square with the fitting. The joint must be fully compressed.
Pressure test the installation in accordance with AS/NZS 3500.